7 เคล็ดลับซักผ้าม่านราคาถูกที่คุณไม่ควรพลาด
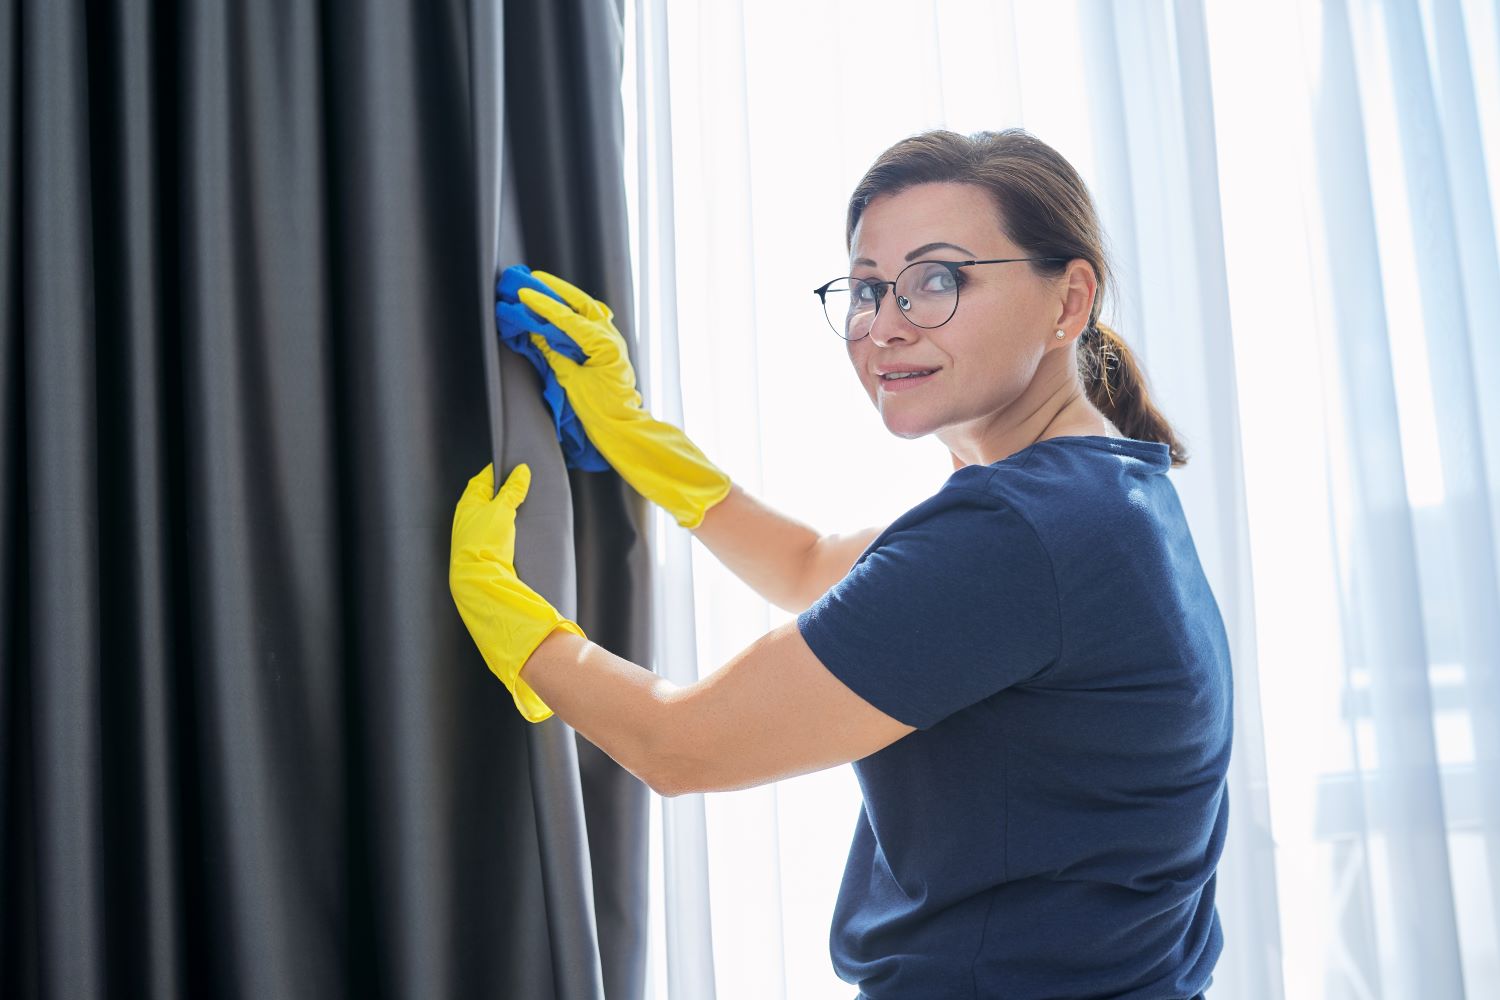
ผ้าม่านเป็นส่วนสำคัญในการตกแต่งบ้านของเรา แต่การดูแลรักษาให้ผ้าม่านสะอาดและอยู่สภาพดีนั้นไม่ใช่เรื่องง่าย โดยเฉพาะเมื่อค่าใช้จ่ายในการซักผ้าม่านมีราคาแพง วันนี้เรามี 7 เคล็ดลับซักผ้าม่านราคาถูกมาฝากกัน ไม่ว่าจะเป็นเทคนิคการซัก วิธีดูแลรักษา และเคล็ดลับอื่นๆ ที่จะช่วยให้คุณประหยัดค่าใช้จ่ายได้มากขึ้น 1. เลือกใช้น้ำยาซักผ้าที่เหมาะสม เลือกใช้น้ำยาซักผ้าที่เป็นมิตรกับผ้าม่าน เช่น น้ำยาซักผ้าไหม หรือน้ำยาซักผ้าละเอียด เพื่อป้องกันไม่ให้ผ้าม่านเสียหายหรือเปลี่ยนสี 2. ซักด้วยน้ำอุ่น ใช้น้ำอุ่นในการซักผ้าม่าน เพราะจะช่วยให้ผ้าสะอาดขึ้นและยืดอายุการใช้งานของผ้าม่านได้ดีกว่าการใช้น้ำเย็น 3. ใช้เครื่องซักผ้าแบบอ่อนโยน เลือกใช้เครื่องซักผ้าที่มีโปรแกรมสำหรับซักผ้าม่านโดยเฉพาะ หรือใช้โปรแกรมซักผ้าอ่อนโยน เพื่อป้องกันไม่ให้ผ้าม่านเสียหาย 4. ตากผ้าม่านให้แห้งในที่ร่ม หลีกเลี่ยงการตากผ้าม่านกลางแดด เพราะแสงแดดจะทำให้ผ้าม่านเปลี่ยนสีและเสื่อมสภาพเร็วขึ้น ควรตากในที่ร่มแทน 5. ใช้ไอน้ำในการรีดผ้าม่าน การใช้ไอน้ำในการรีดผ้าม่านจะช่วยให้ผ้าเรียบเนียนและกำจัดรอยยับได้ดีกว่าการรีดแบบแห้ง 6.…