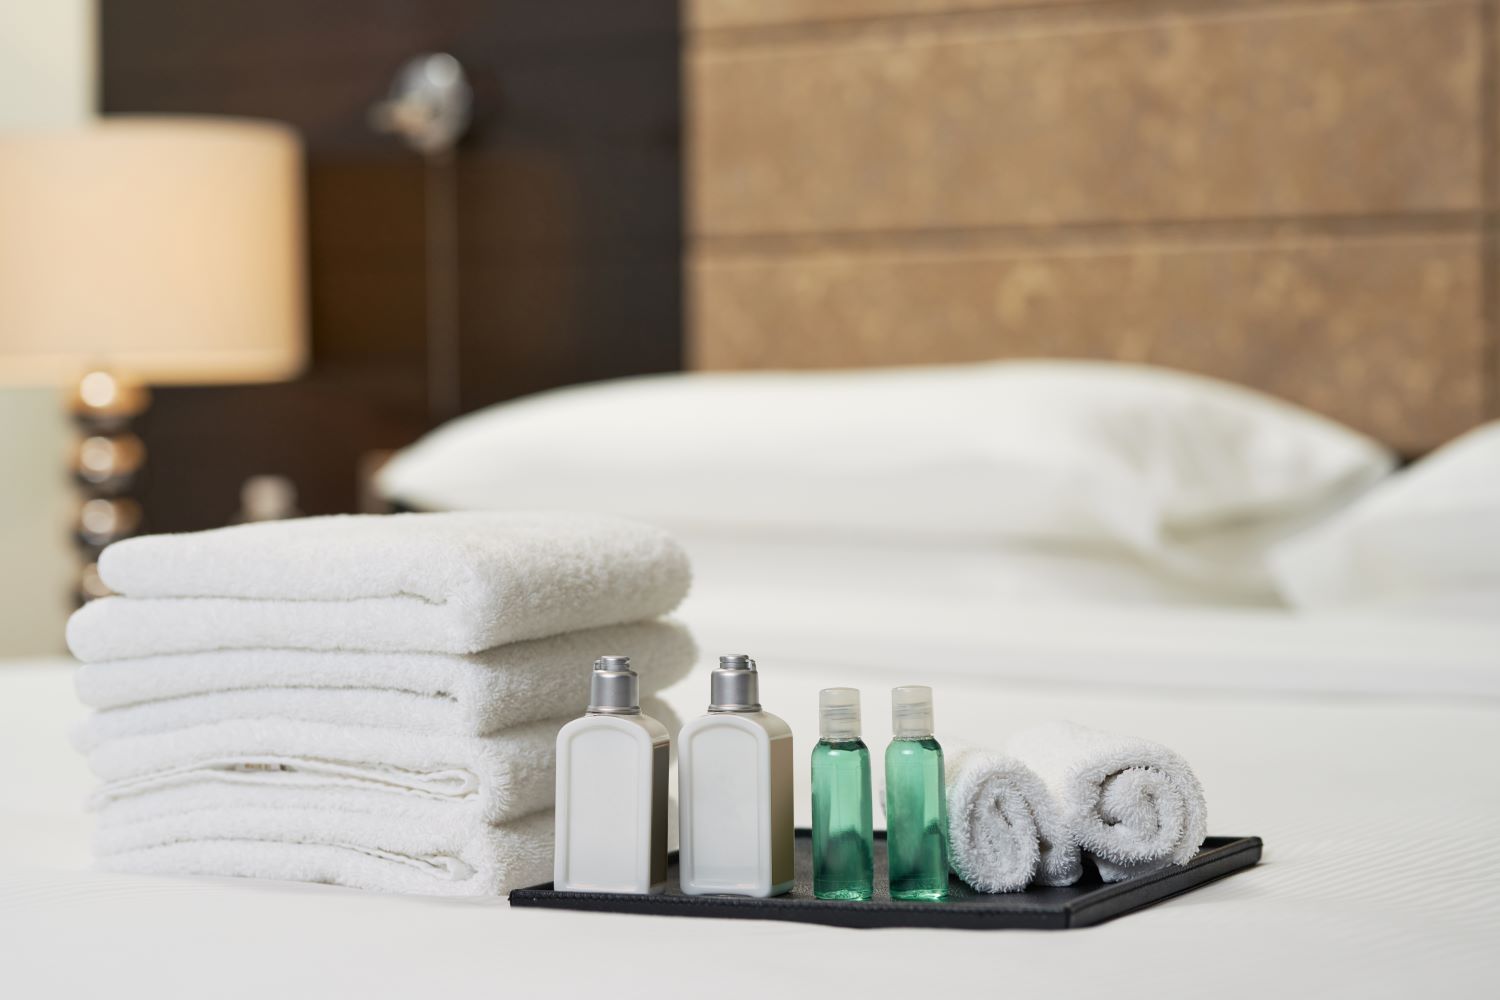
|
|
| Rover 800 820 825 Catalytic Converter. |
Car: 1999 Rover 800 820 Auto Fastback
Colour: Charcoal Grey / Black
After approximately 11 years use (and about 5 weeks after replacing the front section of the exhaust), we began to notice a rattle from underneath the car when reversing. We thought that maybe one one the bolts had perhaps come lose, but after a quick inspection it was obvious that the rattle was from within the catalytic converter.
With a genuine replacement from Rover parts dealers costing around £380, this was one time we were prepared to cut costs by fitting a cheaper product. Searching on ebay and the internet, we found we could get a cheap cat for around £50 delivered! Quite a saving, although at that price we might find it needs replacing a bit sooner next time, although in general these cheaper versions do come with a 2-year warranty, and for around £100 you can buy better versions that come with a 3-year warranty.
The one we bought in the end though was bought for £50. The dealer selling the one we choose to buy had described it as a clearance stock BOSAL Cat with a BOSAL part number too. We have always been happy to use BOSAL exhausts, whenever we have fitted any in the past. So we were expecting a slightly better quality cat for the price of a generic cheaper product. Turns out when it arrived though that it was not a BOSAL nor did it have any Bosal part number anywhwere! Had we known this we would of not ordered the cat from this dealer, we would of opted for a 3-year £100 cat from elsewhere. Buying on ebay we were able to leave negative feedback for the seller and we reported the problem to ebay as well, as it seems other buyers were experiencing the same disappointment when their parcels had arrived.
When the cat arrived it turned out to be a FuelParts (FPUK) one, and looking at the cat and label, and at the packaging, there was no indication as to where in the world it was made! The label even indicated it was for a Land Rover Freelander 1.8! but on checking the internet, it was a different length to what the Freelander would require, and comparing the length to the one off the 800 it did seem to be the correct fitting for the 800, so we decided to go ahead and fit it anyway.
We had also bought new exhaust gaskets from X-part ready to fit the cat. This cat was a very easy item for us to fit, because the normally troublesome front nuts and bolts on the front end of the cat we had replaced 6 weeks earlier (see Rover 800 820 Exhaust Front Section) and the rear set of nuts and bolts were quite easy to undo after just a quick clean (plus, we had oiled them up, a couple of days prior).
|
Six weeks after replacing the front section of exhaust, it was now the catalytic converter that needed replacing!
The week previous this cat started to rattle from within! If the revs were held at 1250, you could definately tell the noise was from the cat & so we ordered a replacement.
The front nuts should be easy to remove because these were new ones that we replaced when fitting the new front section of exhaust. The gasket was also a new one, but as they are cheap and should be replaced, we ordered more new ones.
The nuts & bolts on the rear of the cat were still in good shape.
We decided to remove the rear nuts & bolts first as these would be the more difficult ones to do, that way the exhaust is held firmer whilst we try and undo them.
We had sprayed some WD-40 oil on them a couple of days earlier, as this can help with the removal. We also gave the area a quick clean with a wire brush.
We did not seem to be able to to get a socket into position on any of the nuts, and trying spanners we just could not get the leverage required.
With quite a bit of negotiating we found we were just able to get the socket and a strong arm onto each nut. This gave us the leverage to crack each nut loose, although we then had to tighten the nuts back up to be able remove the strong arm and socket.
Now even though the nuts had been tightened to where they were previously, cracking them, meant we could now undo them with an ordinary spanner. We removed the three rear nuts, as the bolts still keep the cat in place at this point.
The front nuts were easy to undo with the spanner, as these had only been put on 6 weeks earlier.
After removing all 6 nuts the catalytic converter was removed, as you can see the gasket was fitted only recently, but this will be replaced once more, to ensure a perfect seal when fitting the new cat.
The face of the front section of the exhaust was clean, as that was a recent new exhaust section, but this face to the mid-section of exhaust wanted cleaning.
Less than 30 seconds later and a small brass brush, had cleaned this face suficiently. It was also a good opputunity to grab a torch for that inner look!
The new 'FuelParts' catalytic converter and 2 new MG-Rover exhaust gaskets.
The new cat measures just a few millimetres shorter than the original cat, even though it may look far shorter in the pic.
When fitting don't forget the gaskets!
Then pop into place and loosely fasten up all 6 nuts and bolts.
You can buy fitting kits for fitting the cat, but we were just using ordinary loose bolts. If any problems do develope we can always replace the bolts with ones from a fitting kit.
We tightenened up the 3 rear nuts & bolts first.
Then we tightened up the 3 front nuts & bolts.
Hopefully the full exhaust should be okay for a few years now, because the front section and cat are new and from the cat-back is a stainless steel exhaust. Let's just hope the manifold doesn't need doing in a few weeks time!
Plus we should see some money back when we take the old catalytic converter for scrap as these are a high value scrap item, due to the small amount of platinum content inside of them!
|
|
|